Liquid Multisig
Creating and spending from a Liquid multisig using RPC
The example below shows the RPC calls needed to:
- Create a simple 2-of-2 multisig with Elements.
- Send a newly issued asset to the multisig.
- Spend from the multisig and receive the appropriate change.
The example uses two wallets controlled by one one Elements node so it can be carried out on one machine. The console window is used to make the example interactive. A bash script that does something similar can be found here.
The example can be followed by two users running nodes on two different machines if they exchange the data between each other when appropriate, for example the hex values that require signing.
Setting up
Creating the wallets
Create two wallets from the Elements QT File menu. You can label them as Wallet 1 and Wallet 2 if you want them to match the ones used in the example.
If you open the console window from QT using the Window/Console menu option you will be able to use the drop down in the top left of the console window to chose which wallet accepts the commands you enter.
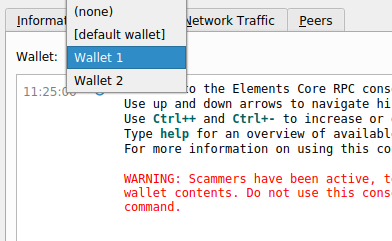
Whichever wallet is selected when you execute a command, that wallet will be the target of the command.
Keeping track of which wallet needs selecting for each step is important!
Tutorial notation
Text in this font:
examplemethod argumentexample1 argumentexample2
Indicates that it should be run from the console window.
Replace all values within < and > tags in the example below with the values from outputting previous commands. You will be told when to note these values. So if you were asked to note a <some_value> output and the value output was "test", you would run the following command:
examplefunction '["<some_value>"]'
As:
examplefunction '["test"]'
Checking balances during the exampleIf you want to check the balance of either wallet during the process you can just run the following, after selecting the target wallet from the console window's drop down wallet selector.
getbalance "*" 0 true
If you experience an error at any stage; check that you have used the correct wallet for the action and remembered to replace the < > tags with the actual values as directed.
Funding the wallets
Before starting, receive some LBTC to Wallet 1. Wallet 2 does not need any LBTC for the example but you may want to get some anyway to make any further testing you do easier. The example can be run on Liquid testnet and the LBTC to fund the transactions can be obtained from https://liquidtestnet.com/faucet. When receiving LBTC remember to swap wallet using the drop down in Elements QT so the address you receive to is for the correct wallet.
Create the multisig address
Wallet 1
From the console window, select Wallet 1 from the drop down.
Get a new address and label it:
getnewaddress "example"
The following is what that would look like as you enter the command in the console window:
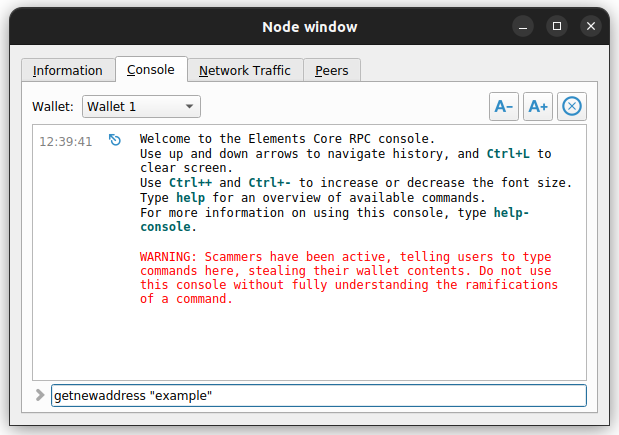
Pressing return would execute the command and return the address:
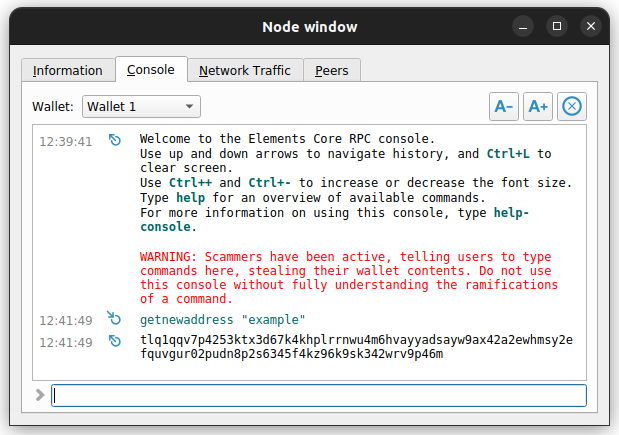
Note the result shown in your console window as <address_1>. We will use the value in the next step.
Don't use the example value from the image above, just copy the result from your own console window.
Get the address info by executing the following command in the console window, using the <address_1> value you noted above:
getaddressinfo <address_1>
So following on from the previous example image, we would have run the following and seen the results shown below:
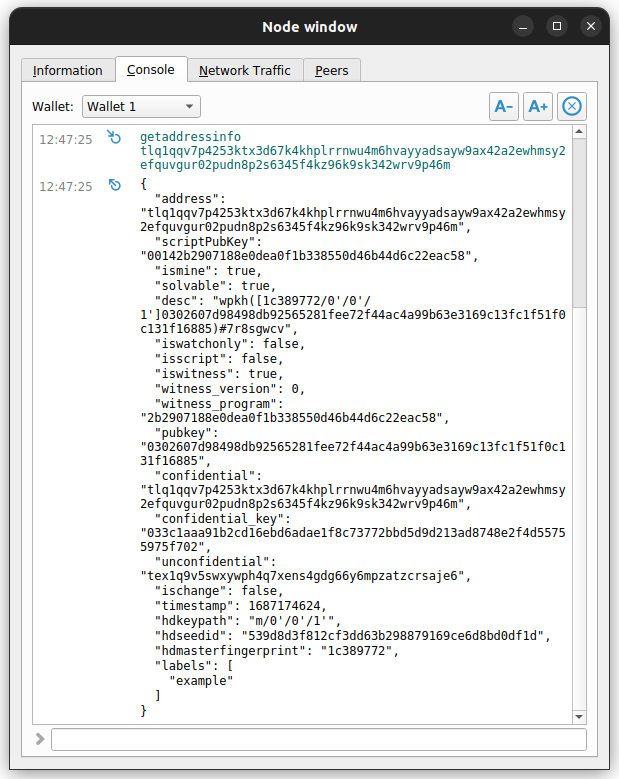
We won't show images of any more steps.Hopefully the process is easy enough to follow!
Note the following from the output of the above by copying it from your console window (do not use the values in the image above):
pubkey as <wallet_1_pubkey>.
confidential_key as <confidential_key>.
Now dump the blinding key for the address:
dumpblindingkey <address_1>
Note the value as <blinding_key>.
Wallet 2
From the console window, select Wallet 2 from the drop down.
Get a new address and label it:
getnewaddress "example"
Get the address info:
getaddressinfo <address_2>
Note the following from the output of the above:
pubkey as <wallet_2_pubkey>.
Wallet 1
From the console window, select Wallet 1 from the drop down.
Create the multisig as a 2-of-2:
createmultisig 2 '["<wallet_1_pubkey>", "<wallet_2_pubkey>"]'
Note these returned values:
address as <ms_address>.
redeemScript as <redeem_script>.
Create a blinded address:
createblindedaddress <ms_address> <confidential_key>
Note the returned address (i.e. the blinded multisig address) as <b_ms_address>.
Import the address and associated data into both wallets
Wallet 1 AND Wallet 2 both need to run the following 3 commands (the commands are the same for both wallets but are repeated below for clarity):
Wallet 1
From the console window, select Wallet 1 from the drop down.
importaddress <redeem_script> '' false true
importaddress <b_ms_address> "example multisig" false
importblindingkey <b_ms_address> <blinding_key>
Wallet 2
From the console window, select Wallet 2 from the drop down.
importaddress <redeem_script> '' false true
importaddress <b_ms_address> "example multisig" false
importblindingkey <b_ms_address> <blinding_key>
Issue an asset and send it to the multisig
We'll have Wallet 1 issue an asset so we can then send it to the multisig to later spend. If you want to issue the asset and a reissuance token directly to to the multisig and be able to reissue from the multisig as well, refer to the example here.
Wallet 1
From the console window, select Wallet 1 from the drop down.
issueasset 100 0
Note the returned asset value as <asset_id>.
You can either use the normal send flow within Elements QT to send ALL of the asset to the blinded multisig address or use the command below. If we don’t send all of it we might spend from the wrong UTXO later.
sendtoaddress <b_ms_address> 100 "" "" false false 1 UNSET false <asset_id>
Wallet 2
From the console window, select Wallet 2 from the drop down.
If Wallet 2 cannot see the funds sent to the multisig run the following command:
rescanblockchain
After which they will be able to see the funds.
Spending from the multisig
We will send some (10) of the asset to a new address that's not the multisig address.
Wallet 2
From the console window, select Wallet 2 from the drop down.
Get a new address that is nothing to do with the multisig:
getnewaddress "not a multisig"
Note that as <not_a_ms_address>.
Wallet 1
From the console window, select Wallet 1 from the drop down.
We will receive the asset change to the same multisig address we created earlier. The LBTC fee change will need to go somewhere so we will create a new address for it. The LBTC change from the fee will go back to Wallet 1 and the asset change (there should be 90) should go back to the original multisig address.
getrawchangeaddress
Note the response as <raw_change_address>.
Passing the hex output alongThe following few steps each output a hex value. The hex value should be used in the step that follows it. For example the signed hex output from Wallet 1 calling
signrawtransactionwithwalletis the hex that is then passed into Wallet 2’s own call ofsignrawtransactionwithwallet. In general; a hex goes in, something happens to it and the output hex then gets passed into the next step, and so on until the transaction is valid and broadcast. The hex can get very long so if you are using a text editor as part of the process, make sure you copy it all and that it doesn’t truncate because of an unintentional line break.
Making sure Wallet 1 is selected in the console window, create a raw transaction:
createrawtransaction '[]' '[{"<not_a_ms_address>":10,"asset":"<asset_id>"}]' 0 false)
Use the hex output from that in the following:
fundrawtransaction <hex_from_above_output> '{"includeWatching":true, "changeAddress":{"bitcoin":"<raw_change_address>", "<asset_id>":"<b_ms_address>"}}'
Use the hex output from that in the following:
blindrawtransaction <hex_from_above_output>
Have Wallet 1 sign the transaction, using the hex output from the above:
signrawtransactionwithwallet <hex_from_above_output>
Wallet 2
From the console window, select Wallet 2 from the drop down.
Have Wallet 2 sign the transaction, using the hex output from the above:
signrawtransactionwithwallet <hex_from_above_output>
The above output should, along with the signed hex, display that the multisig has been satisfied and return a complete value of true.
Wallet 1 or Wallet 2
Have either Wallet 1 or Wallet 2 (it doesn’t matter which) broadcast the fully signed transaction using the hex output from the above:
From the console window, select Wallet 1 or Wallet 2 from the drop down.
sendrawtransaction <hex_from_above_output>
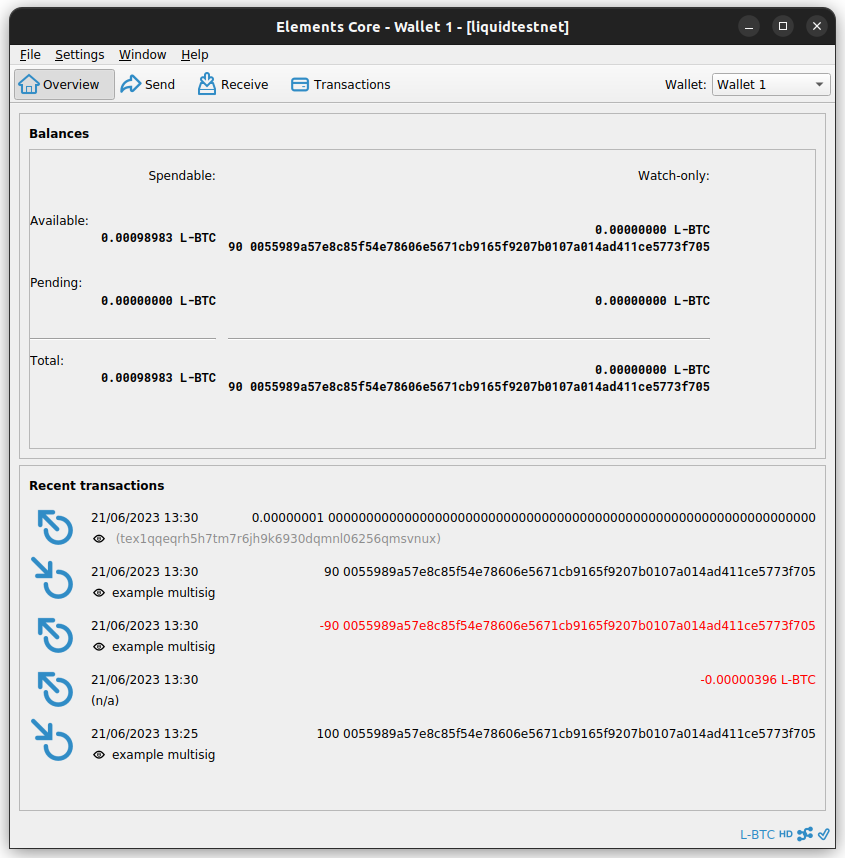
Both wallet will see that 10 of the asset has been spent from the “watch only” multisig address.
Wallet 1 will see a balance of 90 of the asset as “read only” (within the multisig).
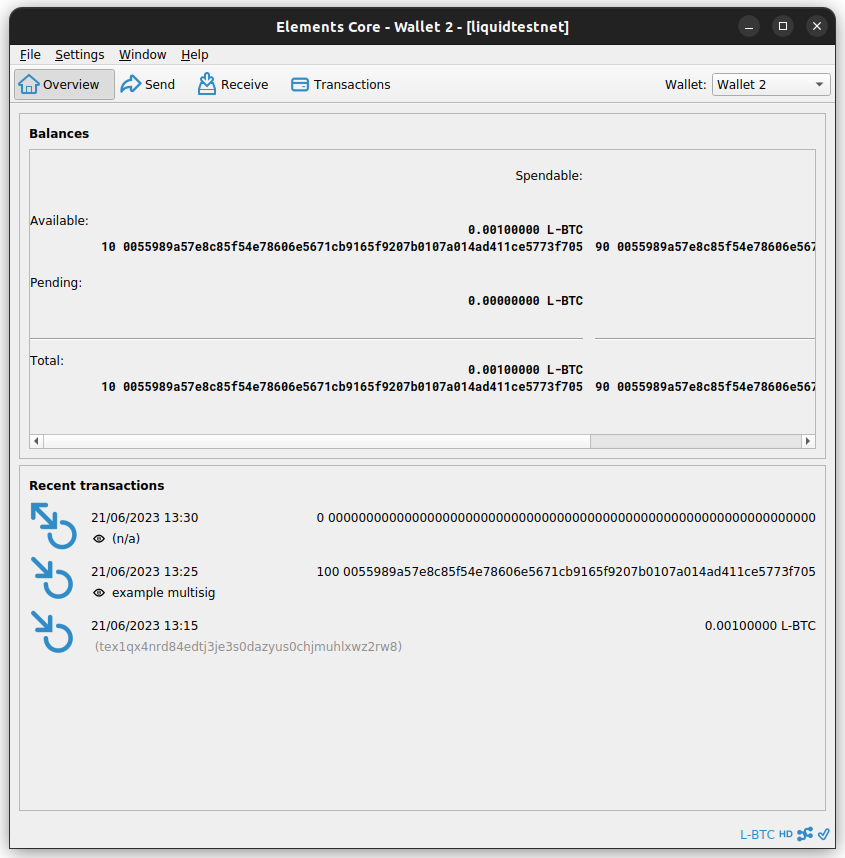
Wallet 2 will see a balance of 90 of the asset as “read only” (within the multisig) and also a balance of 10 as “spendable” (not within the multisig).
View of Wallet 1 after the example:
View of Wallet 2 after the example:
Updated 8 months ago